
You do not need a studio to get clean, consistent product photos. Gear, light, background, shot list and editing routine for shooting at home, and when a studio makes sense.
How to take product photos for an online store comes down to four habits: hold the camera still on a tripod, light the product with soft window light, use a plain background and shoot the same short list of angles for every item. Done consistently, this makes the products look like one store and gives buyers the information they cannot get by touching the item.
What a buyer needs to see in your product photos
A shopper cannot pick the product up, so the photos take the place of the shop counter. Good product photos answer five questions before the buyer has to ask.
- Shape and size: the whole product, with something that shows scale.
- True colour: what the buyer sees matches what arrives.
- Material and texture: close-ups of fabric, grain, finish or stitching.
- Details that matter: labels, zips, clasps, ingredients, anything a buyer would ask about.
- Use: how it is worn, held or placed.
Plan every shot around those questions. If the store itself is not built yet, our online store development service covers that side.
How to take product photos at home: the gear you need
A recent phone can be enough for online-store photos. Steady framing, soft light and a clean background are worth getting right whichever camera you use.
- A phone or camera you already own.
- A tripod, or any stand that holds the camera completely still, so the framing stays the same from photo to photo.
- A backdrop: white or light grey paper, poster board or plain fabric, curved up behind the product so no edge shows.
- Soft light: a large window is already in the room, and a thin white sheet or baking paper can diffuse it.
- A light box (a small photo tent), which is optional.
There are trade-offs. A light box is quick for small items such as jewellery or cosmetics, but it is cramped for large products and its walls can show in shiny surfaces. Hold off on lamps and stands until window light has proved it is not enough, for example because you can only shoot in the evening.
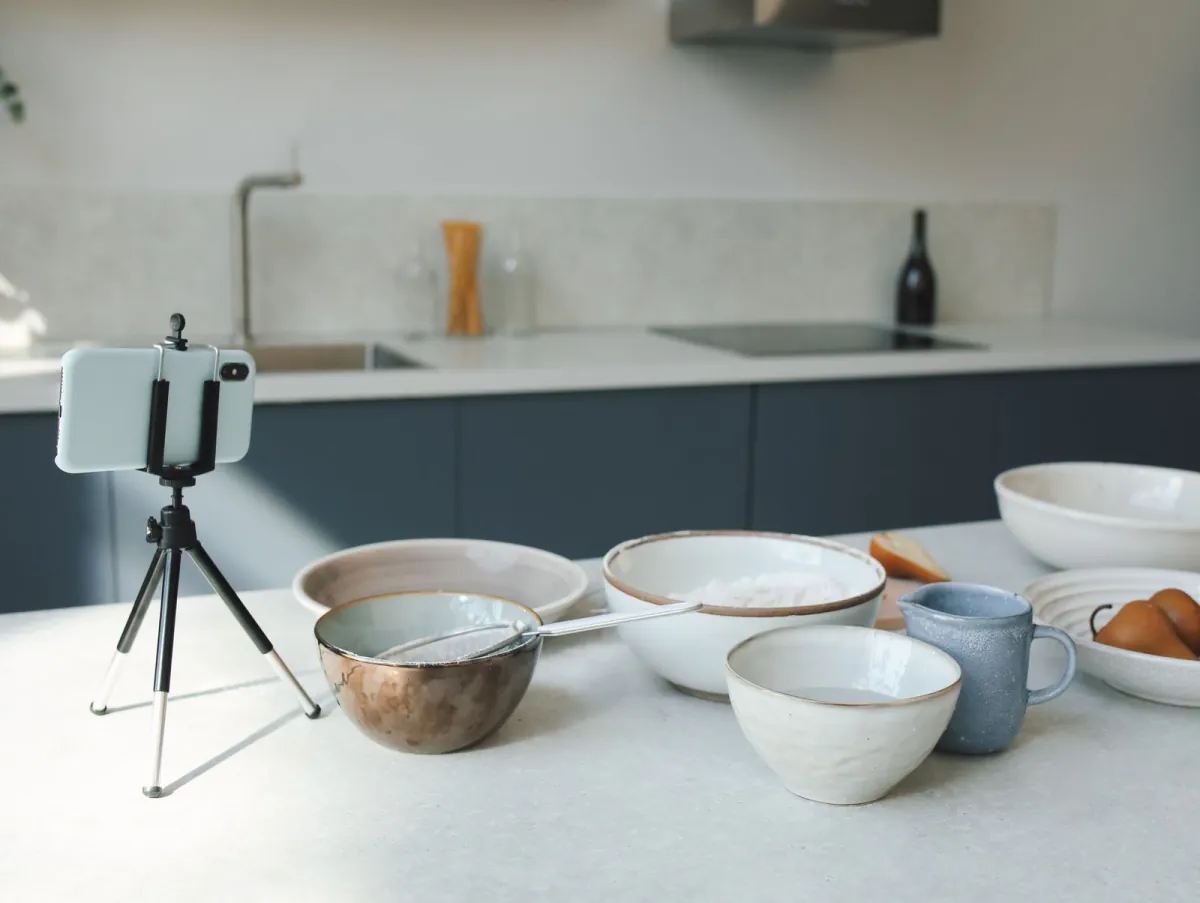
Set the phone up the same way before every session:
- Clean the lens with a soft cloth.
- Use the rear camera, and keep the same distance for products of the same type.
- Turn on the grid so the product sits straight and centred. Apple's iPhone guide describes a grid or level for straightening and composing a shot.
- Tap the product to focus, then, if your phone allows it, lock focus and exposure so the brightness does not jump between shots. On an iPhone, Apple says to touch and hold the focus area until AE/AF Lock appears.
- Use the timer or a remote, so pressing the shutter does not shake the phone.
Light: window light, diffusion and glare
Light has a large effect on how a product looks. Aim for soft, even light with gentle shadows and no harsh highlights.
Use soft window light
Place the table beside a large window with the side of the product facing the glass, and switch off the room lights, because mixed light sources give mixed colour casts. Avoid direct sun. If the sun hits the window, hang a thin white sheet to diffuse it.
Put a white card or sheet of paper on the opposite side to bounce light back into the shadows. If the product looks flat, use black card to deepen them.
Control glare and reflections
Shiny products such as glass, metal and glossy packaging pick up reflections of the window, the phone and you. Try these fixes in order:
- Move the product or the light a little, because reflections change with the angle.
- Make the light source larger and softer with a diffuser, rather than smaller.
- Block unwanted reflections with a card just outside the frame, and wear dark clothes while you shoot.
Backgrounds and surfaces: one choice for the whole catalogue
Choose the background by what the product needs to show, then use it for every main image.
- White or light grey: a safe starting point. It keeps attention on the product, makes colours easy to judge and is simple to edit later. White products can melt into white, so give them light grey.
- A single colour: gives a brand feel, but it can tint the product through reflection and may clash with future products.
- A simple lifestyle surface: wood, stone or a table with one or two props shows context. Keep it for secondary photos, not the main image.
Platforms set their own rules for the main image. For stores that list products on Google, the Google Merchant Center image requirements ask for a clean, unobstructed view of the item and no watermarks or promotional overlays. Open the current rules for the platform where you sell before you shoot the whole catalogue.
Whatever you choose, keep the backdrop clean: wipe off dust and fingerprints, and iron or tape fabric flat.
A shot list for every product
A shot list is the same set of photos for every product, so nothing is forgotten and every page looks alike. There is no fixed number of photos; a good starting set answers the buyer's questions in this order:
- Front, straight on, on the main background.
- Back or side.
- A three-quarter angle that shows depth.
- A close-up of the material, finish or key detail.
- A scale shot, with a hand or a familiar object next to the product.
- The product in use, or with its packaging if it is a gift.
Add or remove shots by product type: clothes may need a flat lay and a worn shot, and a bottle may need its label from every side. Write the list down and tick it off. Bigger shoots that include video need more planning; see how to prepare for a video or photo shoot.
Keep the whole catalogue consistent
A catalogue looks consistent when the background, angle, light, product size in the frame and edit are the same on every product. This is one small part of a wider visual identity; our article on what a visual identity includes explains the rest.
- Mark the product's position on the backdrop with tape.
- Fix the camera height and distance, and do not move the tripod between products of the same type.
- Shoot in the same window light, in one session or at the same time of day.
- Use the same crop ratio for every main image, for example square or portrait.
- Apply the same edit to the whole batch.
Batching in practice: imagine a shop with 24 ceramic bowls. Instead of shooting one bowl fully and then the next, set up once for the front shots and photograph all 24, then change to the detail angle and photograph all 24 again. Edit each angle as one batch. The bowls look like one collection, and the session can be shorter because the set-up changes only a few times instead of 24.
Basic editing and files ready for the web
Editing should correct the product, not change it. Free phone and computer editors can handle these steps.
- Crop all main images to the same ratio, with the product at a similar size in the frame.
- Correct brightness and white balance until the colours match the real product in daylight.
- Remove dust and marks, but do not hide real flaws or change the shape or colour.
- Export in a web format such as JPG or WebP, at the size your store asks for.
- Name files descriptively, for example blue-ceramic-bowl-front.jpg, not IMG_2041.jpg.
Shoot at a higher resolution than you export. Merchant Center sets a minimum size and recommends larger images, so check the number on its page. Compress the files too: web.dev calls image files the biggest drain on users' bandwidth, and reducing the transfer size is how an image shows up faster.
Add alt text to every image on the product page: one plain sentence that says what the image shows, such as "Blue ceramic bowl seen from the front". Google's image best practices call alt text the most important attribute for an image, advise short descriptive file names and warn against filling alt text with keywords. Photos that search engines can understand are also part of how a store is found; our introduction to how SEO works covers the wider picture.
Common mistakes to avoid
These slips cost the most time or trust in a home shoot:
- Mixed light: room lamps on while shooting by the window, so colours differ from photo to photo.
- Over-editing: saturating or reshaping the product until the photo no longer matches what arrives.
- A moving set-up: a different distance or angle for each product, so the grid of products looks uneven.
- Text on the main photo: watermarks or sale banners, which some platforms do not accept.
- Unprocessed files: uploading full-size camera files that slow the page.
When to move to a studio or a production team
Shooting at home works well until one of these appears:
- The catalogue is large and the deadline is not flexible.
- The products are glass, chrome, jewellery or dark gloss, which need careful control of reflections.
- The items are large, or need people, models or movement.
- Several people shoot and the look keeps drifting.
- You also need video, motion or lifestyle scenes.
If none of that applies, for example a few dozen simple products, staying at home can be a sensible choice. A studio is a decision about time and control, not about prestige.
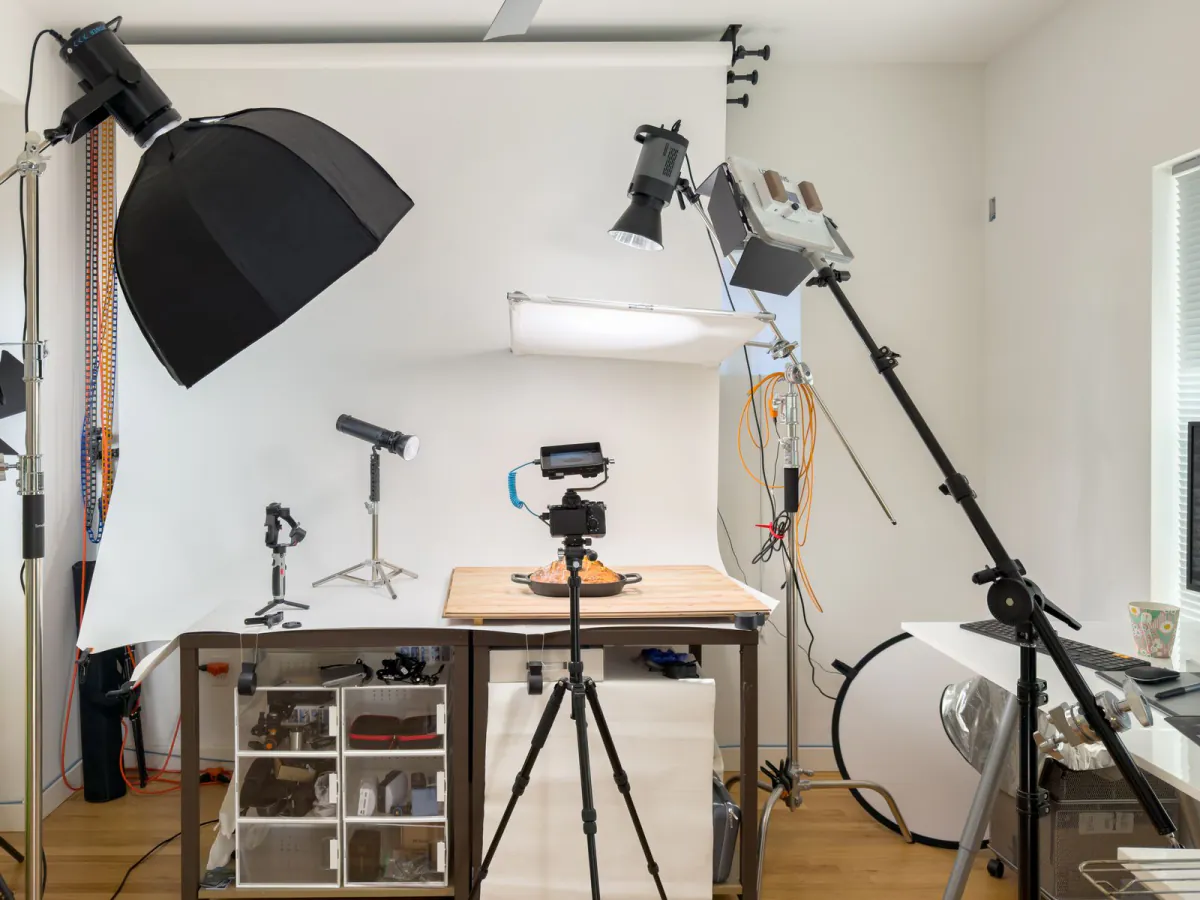
If you would rather not shoot the products yourself, PK Media offers product photography. PK Studio in Dokki, Giza has chroma (green screen) backdrops, cameras and lighting, and you can rent the studio and shoot yourself, or ask PK Media to produce the shoot there.
Frequently asked questions
Can I photograph products with a phone?
Yes. A recent phone can take sharp, well-exposed photos that are good enough for an online store, especially with a steady tripod, soft window light, a clean background and the same set-up every time. The harder cases are very shiny items such as glass and chrome, because their reflections need careful control.
What background is best for an online store?
A plain white or light grey background is a safe choice. Nothing on it competes with the product, and colours are easy to judge. Some platforms set rules for the main image, so check the current ones where you sell. Keep lifestyle surfaces for extra photos, and use one background for the main images across the whole catalogue.
Do I need a light box?
Not at first. A light box gives even light quickly and suits small items such as jewellery, though large products do not fit in it comfortably and shiny surfaces can show its walls. Try a window and a white sheet first. Buy a box only if you shoot small items often and want a set-up that repeats easily.
How do I avoid reflections on shiny products?
Make the light larger and softer, change the angle of the product or the light until the reflection moves off the surface, and block unwanted reflections with a card just outside the frame. Dark clothes help, because you can appear in the reflection. Glass and chrome may be easier to shoot in a studio.
Your next shoot: write the shot list first
Before the first photo, write the shot list and fix the background. If you would rather hand the shoot over, contact PK Media and describe your products and where the photos will be used.
Sources
- Google Search Central: Image SEO best practices, read 19 November 2026
- Google Merchant Center Help: Product image requirements, read 19 November 2026
- web.dev: Learn Images, performance issues, read 19 November 2026
- Apple Support: Use iPhone camera tools to set up your shot, read 19 November 2026